Creating a Minecraft Clock with Python on Raspberry Pi
- Sep 22, 2017
- 2 min read
The mcpi.minecraft library is an API which allows Minecraft to be controlled with Python. It is automatically installed with Raspian and can only use the Minecraft-Pi edition. This blog will show you how to make a basic clock in Minecraft. The clock's format is six columns of varying heights. From right to left, they will be units of second, tens of seconds, units of minutes, tens of minutes, units of hours and tens of hours. The height of each column in blocks represents its value.
Firstly, we import the necessary libraries.
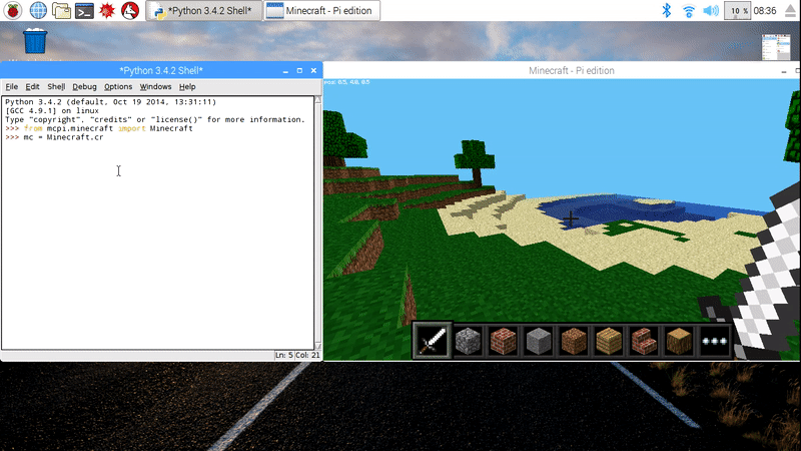
from mcpi.minecraft import Minecraft from time import sleep import datetime
Now, we initiate the game. Note, the a Minecraft session needs to be running before the code is run.
mc = Minecraft.create()
Now we get the coordinates of the player in the world and assign the values to x, y and z. The clock will be placed relative to the player; so that the clock doesn't spawn on top of the player, we increase the x value.
x, y, z = mc.player.getTilePos()
x += 20
Next, for aesthetics, we create a backdrop for our clock. The setBlocks() function creates a cuboid of blocks with arguments of starting x, y, z values followed by finishing x, y, z values followed by the block type. In this case, 42 means iron block.
mc.setBlocks(x+3,y,z-4,x+3,y+10,z+5,42)
Then we create a loop to create/update the time.
while True:
Here, we get time, where s1 is the tens of the seconds and s2 is the units of seconds. The same is for minutes and hours.
second = datetime.datetime.now().second s1 = int(second/10) s2 = second - 10*s1 minute = datetime.datetime.now().minute m1 = int(minute/10) m2 = minute - 10*m1 hour = datetime.datetime.now().hour h1 = int(hour/10) h2 = hour - 10*h1
Firstly, we need to clear all blocks which might be in the way or created in previous frames. Setting the block type to 0 means turning it into air.
mc.setBlocks(x+2,y,z,x+2,y+9,z+4,0)
Now, we create each column. The value of time is shown by adding the correct value to the maximum y value of each of the columns. The block 41 is the gold block.
mc.setBlocks(x+2,y,z-3,x+2,y+h1,z-3,41) mc.setBlocks(x+2,y,z-2,x+2,y+h2,z-2,41)
mc.setBlocks(x+2,y,z,x+2,y+m1,z,41) mc.setBlocks(x+2,y,z+1,x+2,y+m2,z+1,41) mc.setBlocks(x+2,y,z+3,x+2,y+s1,z+3,41) mc.setBlocks(x+2,y,z+4,x+2,y+s2,z+4,41)
However, this will always create one block too much on each column. For example, when the units of seconds is zero, the last column will begin and end at a y value of y - meaning it's one block high. Therefore, we must delete the bottom block of every column.
mc.setBlocks(x+2,y,z-3,x+2,y,z+4,0)
Finally, we wait for one second, since the clock will only needs to be updated every second.
sleep(1)
Here is the whole code:
from mcpi.minecraft import Minecraft from time import sleep import datetime
mc = Minecraft.create()
x, y, z = mc.player.getTilePos()
x += 20
mc.setBlocks(x+3,y,z-4,x+3,y+10,z+5,42)
while True:
second = datetime.datetime.now().second s1 = int(second/10) s2 = second - 10*s1 minute = datetime.datetime.now().minute m1 = int(minute/10) m2 = minute - 10*m1 hour = datetime.datetime.now().hour h1 = int(hour/10) h2 = hour - 10*h1
mc.setBlocks(x+2,y,z,x+2,y+9,z+4,0)
mc.setBlocks(x+2,y,z-3,x+2,y+h1,z-3,41) mc.setBlocks(x+2,y,z-2,x+2,y+h2,z-2,41)
mc.setBlocks(x+2,y,z,x+2,y+m1,z,41) mc.setBlocks(x+2,y,z+1,x+2,y+m2,z+1,41) mc.setBlocks(x+2,y,z+3,x+2,y+s1,z+3,41) mc.setBlocks(x+2,y,z+4,x+2,y+s2,z+4,41)
mc.setBlocks(x+2,y,z-3,x+2,y,z+4,0)
sleep(1)


Comments